Signs You Need Waterproofing in Balcony
August 25, 2020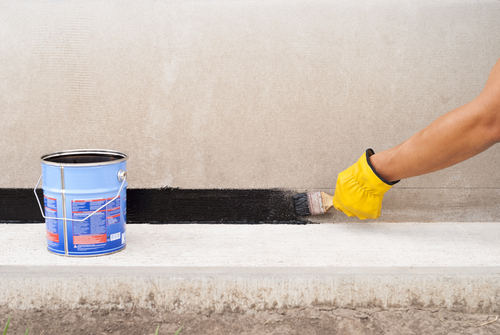
How Do I Waterproof Walls?
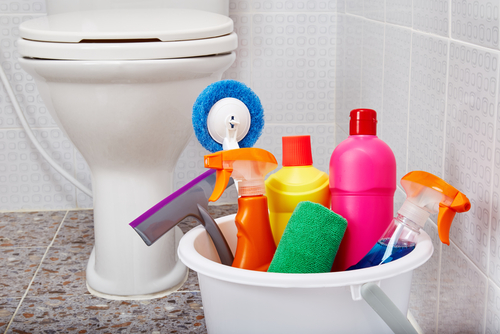
December 10, 2020How Do I Waterproof my Bathroom?

How Do I Waterproof my Bathroom? While renovating toilets individuals often tend to neglect an extremely important element for this particular room. This is actually waterproofing. On most occasions, the property owners just paint or tile over the already existing plasterwork.
They do this for minimizing expenses. Nevertheless, skipping this particular step can lead to the expenditure of a significant amount of cash in the long run. In fact, you might end up spending approximately double the cash for repairing the plasterwork.
This is also applicable for repairing the tiling in case the water begins to seep through.
Fortunately, do-it-yourself bathroom waterproofing can be a fantastic option for you in case you like to save some money. The good thing is that you do not require any special skills for performing this job.
In the following paragraphs, we have mentioned a simple guide on how to waterproof your bathroom on your own.
First of all, try to find out all the points in the toilet where there is a huge possibility of leakage. This might include areas such as the drainage line openings by means of the floor and the walls plus concealed water lines.
You should also verify the buried GI or PVC fittings, floor and wall tile joints, pipe joints, and so on. Walls close to the shower area, threshold fitting and bathroom door jambs, joints close to a bathtub also deserve mention.
You should also lookout for the connection joints of the washbasin. These areas should be given proper attention while performing the job to make certain that they are sealed properly.
Table of Contents
Step one
You must perform this particular step comprehensively. Clean the bathroom floor and the walls while getting rid of all the grime and dust. Following this, make certain that the toilet is dry completely. Also, ensure that there is no moisture on the floor and the walls.
Step two
Get hold of a top-quality do-it-yourself toilet waterproofing kit. In case you are not sure regarding which one to purchase, perform some research online. You can also go to several local hardware retail stores.
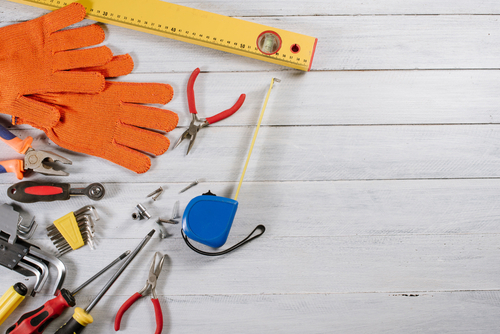
It is important for an appropriate do-it-yourself bathroom waterproofing kit to consist of the following:
- Waterproofing acrylic primer
- Tanking membrane
- Edging tape
- Brush
- Gloves
- Neutral core silicone sealer tube
Step three
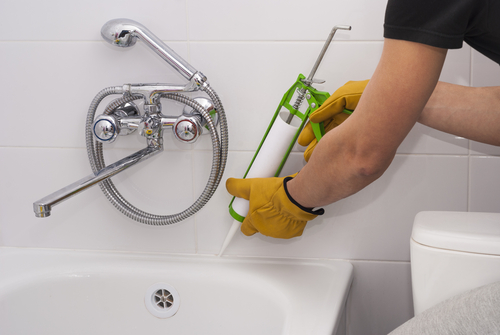
Get hold of the silicon sealer tube included in the waterproofing kit. Use your fingers for running a bead along with the inner corners of the floor and the wall for providing an appropriate finishing to it. However, always make sure to put on gloves while performing this step.
Step four
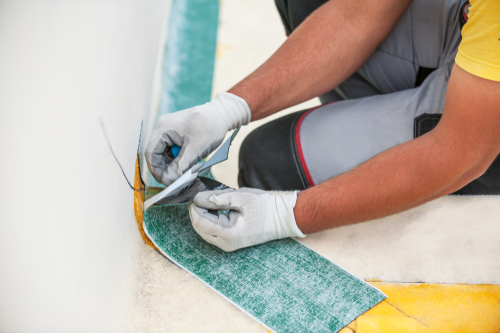
Use the paintbrush to apply a coating of the tanking membrane to the inner corners. Do not forget to paint on both sides of the membrane and make the width of the patch around 200 mm.
Step five

Put the edging tape along the length of every corner. Make it smooth for bedding it into the moist membrane. Make sure that the tapes overlap by a minimum of 150 mm.
Step six

Make it a point to apply another coating of membrane on top of the clogged drains. Also, apply the coating over all the penetrations through the floor or the wall as well as around the taps.
Step seven
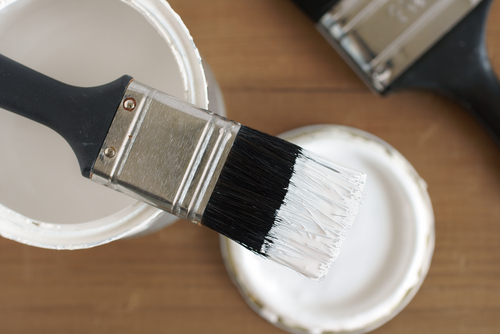
Apply a coating of water-resistant acrylic primer over the toilet surface including the floor and the walls. Apply one more coating of acrylic primer perpendicular to the earlier coating.
Allow it to become dry for a minimum of twenty-four hours prior to performing any more work.
Conclusion
Following these steps, you need to maintain some further precautions for avoiding bathroom leakage. However, we have not mentioned these in this article.
Besides waterproofing, also ensure that the slope of the bathroom flooring should be in the direction of the drain. This will help to prevent the accumulation of water elsewhere since this can cause water leakage as well.
Moreover, go for waterproof paint for the walls and the ceiling in case you like to paint the toilet. Install a fan or vent for getting rid of damp air from the toilet. An excessive amount of steam can result in the accumulation of moisture on the bathroom walls.
This can lead to the formation of algae by seeping eventually through the walls.


